Introduction
Pottery, an ancient art form that dates back thousands of years, continues to captivate people with its timeless beauty and craftsmanship. There’s something magical about shaping a lump of clay into a functional piece of art that brings warmth and character to your living space. In this guide, we’ll delve into the world of pottery, exploring various techniques, tools and creative projects that will help you embark on your journey of creating handmade ceramics.
The Art of Pottery: A Brief Overview
Pottery is more than just a creative endeavor; it’s a way to connect with the past and express your individuality. The process of transforming raw clay into exquisite pottery involves several stages, including shaping, drying, firing, and glazing. Each step demands attention to detail and a bit of patience, but the rewards are immeasurable.
Getting Started: Essential Tools and Materials
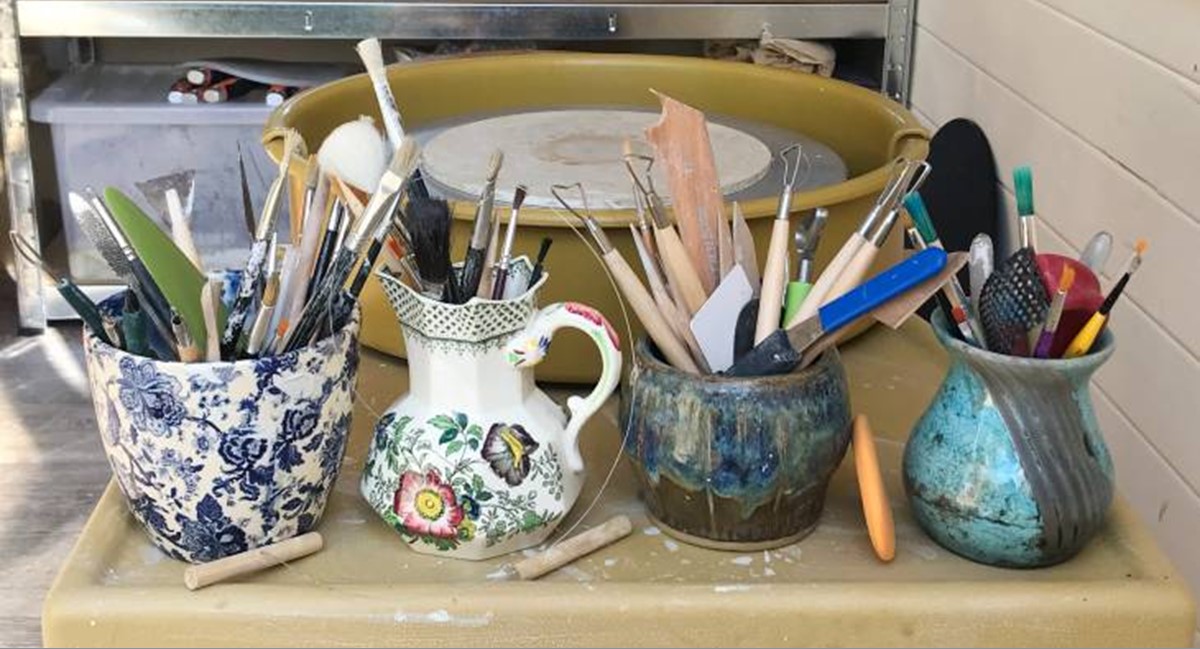
Before you dive into pottery, it’s important to gather the necessary tools and materials. These include:
Clay: Choose the type of clay that suits your project and skill level. There are different clay bodies, such as stoneware and porcelain, each with its own characteristics.
Pottery Wheel or Slab Roller: Depending on the techniques you want to explore, you’ll need a pottery wheel for throwing on the wheel or a slab roller for hand-building.
Pottery Tools: Invest in a set of basic pottery tools, including carving tools, wire cutters, and ribs. These tools help you shape and refine your pieces.
Kiln: A kiln is essential for firing your pottery at high temperatures. If you’re just starting out, you might consider using a community studio with kiln facilities.
Glazes: Glazes add color and a protective finish to your pottery. Experiment with different glaze recipes to achieve the desired effects.
Apron and Gloves: Pottery can get messy, so protect yourself with an apron and gloves.
Basic Pottery Techniques to Master
Pinch Pot Technique: One of the simplest ways to start is by creating pinch pots. Begin by forming a ball of clay, then use your fingers to pinch and shape it into a bowl or vessel.
Coil Building: Coil pottery involves rolling clay into long coils and layering them to build your desired shape. This technique allows for intricate designs and larger pieces.
Slab Construction: Using a slab roller, you can create flat sheets of clay that can be cut and assembled into various forms like plates, tiles and even intricate sculptures.
Wheel Throwing: Wheel throwing is a skill that requires practice. Centering the clay on the wheel is the first challenge, followed by shaping it into bowls, cups and other forms.
Step-by-Step Project: Handmade Mug
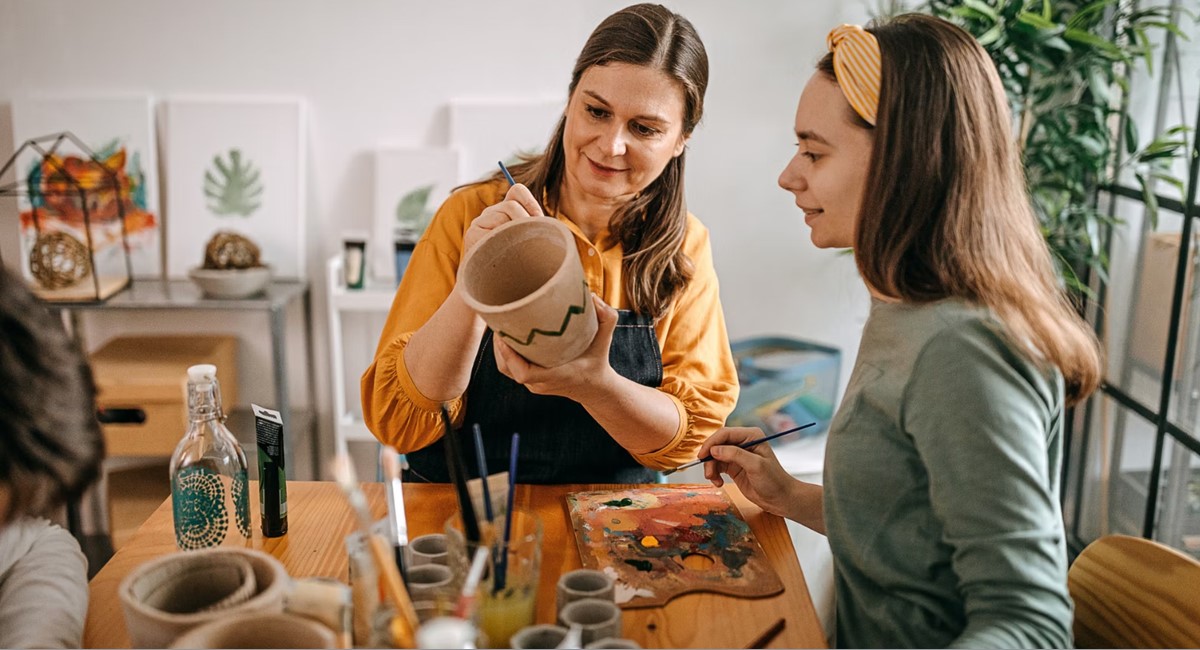
Let’s dive into creating a simple handmade mug using the wheel throwing technique.
Step 1: Prepare your clay by wedging it to remove air bubbles and create a consistent texture.
Step 2: Center the clay on the wheel and open up the center to create the mug’s base.
Step 3: Pull up the walls of the mug while gently shaping it into the desired form.
Step 4: Create the handle by attaching a pulled handle or a hand-built handle to the mug.
Step 5: Let the mug dry to a leather-hard stage before bisque firing it in the kiln.
Step 6: Once bisque-fired, apply glazes to achieve your desired color and finish.
Step 7: Fire the mug again to the appropriate temperature, following the glaze firing schedule.
Embracing Creativity: Advanced Techniques
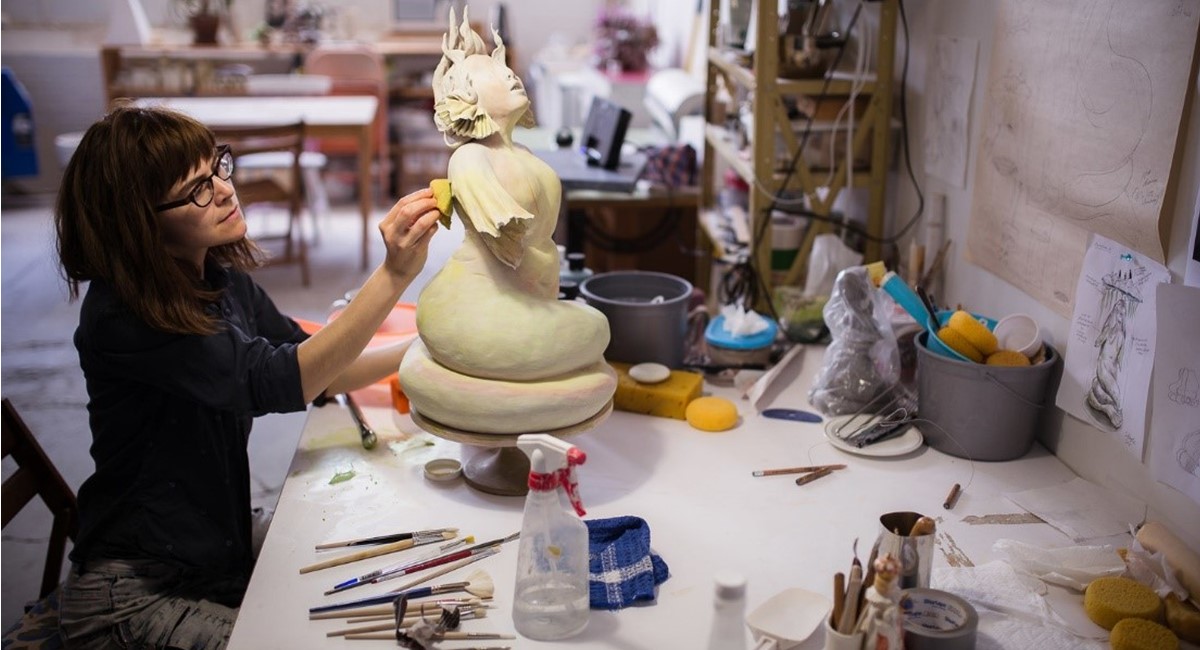
As you gain confidence in basic techniques, you can explore more advanced methods such as sgraffito (carving designs into the clay), mishima (inlaying colored slip), and underglaze painting. These techniques add depth and intricate details to your pottery pieces.
Sgraffito
Sgraffito is a technique that involves carving intricate designs into the clay’s surface. It adds texture and visual interest to your pottery pieces.
Here’s how to do it:
a. Prepare the Surface: Begin by applying a layer of contrasting colored slip (liquid clay) onto your leather-hard pottery. This will serve as the base for your design.
b. Carve the Design: Once the slip is slightly dried but still workable, use carving tools to carefully scratch away the slip, revealing the clay underneath. You can create patterns, images, or abstract designs.
c. Finishing Touches: After carving, let the piece dry completely before bisque firing it in the kiln. The bisque firing will set the design in place. You can then choose to leave it unglazed for a natural, earthy look or apply glazes to enhance the contrast.
Mishima
Mishima is a technique that involves inlaying colored slip or underglaze into carved lines or indentations on the pottery’s surface. This creates a stunning effect of colored lines against the pottery’s background.
Here’s how to do it:
a. Carve the Lines: Carve shallow lines or indentations on the leather-hard pottery using carving tools. These lines will serve as the canvas for your inlaid design.
b. Apply Colored Slip: Apply a contrasting colored slip or underglaze into the carved lines. Use a flexible spatula or a brush to carefully fill the lines with the chosen color.
c. Wipe Off Excess: Gently wipe off the excess slip from the surface, leaving the color only in the carved lines.
d. Finishing: Allow the piece to dry and then bisque fire it. Afterward, you can glaze the piece as desired and fire it again to achieve the final finish.
Underglaze Painting
Underglaze painting is a technique that allows you to create detailed designs and images on your pottery using colored underglazes. It’s like painting on a canvas, but the canvas is your pottery piece.
Here’s how to do it:
a. Prepare the Surface: Apply a layer of white or light-colored underglaze onto the leather-hard pottery. This will serve as the base for your painting.
b. Paint Your Design: Use brushes or even fine-tipped applicators to paint your desired design onto the pottery. You can create intricate patterns, scenes, or abstract art.
c. Let it Dry: Allow the underglaze to dry before bisque firing the piece. This will set the design in place.
d. Apply Glaze: Once bisque-fired, apply clear glaze over the painted design. The glaze will give your painting a glossy finish and protect the colors during the final firing.
e. Final Firing: Fire the piece again to the appropriate temperature, following the glaze firing schedule.
Tips for Success and Inspiration
Practice Patience: Pottery is a skill that improves over time. Don’t be discouraged by initial failures; they’re an essential part of the learning process.
Learn from Others: Join pottery classes or online forums to connect with fellow potters. Sharing experiences and tips can be incredibly enriching.
Draw Inspiration: Nature, architecture, and everyday life can inspire your pottery designs. Keep a sketchbook handy to jot down ideas.
Experiment with Glazes: Glazing can significantly alter the appearance of your pottery. Experiment with different combinations to discover unique finishes.
Conclusion
Creating your own pottery is a fulfilling journey that allows you to explore your creativity while connecting with an ancient art form. With the right tools, techniques and a willingness to learn, you can transform raw clay into exquisite pieces that reflect your personal style. Whether you’re a beginner or an experienced artist, the world of pottery welcomes you to embark on a hands-on adventure that’s as rewarding as it is artistic.

